This one took me longer than expected – my previous experiments with terrain rendering simply used a flat blue surface surrounding the land mass to model water, and I had wanted to implement a system to render water for a while now. I knew that there was an article describing a sample implementation in the very first issue of the GPU gems series that I had previously skimmed over, so I had hoped it would be fairly simple to integrate that into my rendering engine. Of course, nothing is ever quite quite that simple….
The article describes a method that uses a set overlapping “geo waves” to model the wave mesh as well as another set of “texture waves” which are used to skin the wave mesh. The combination of the two wave types generates an impression of a moving wave surface. According to the article, the simulation can support both unidirectional waves used to model large bodies of water (think oceans), as well as circular interference patterns for smaller bodies of water (lakes).
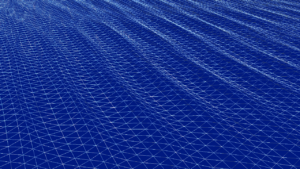
So much for the theory, which the book describes in some detail; however, it really doesn’t delve into the actual implementation of the shader but just points to the sample code that accompanied the book. Looking at the code, it turned out that the shaders were not written in a modern, high-level dialect like HLSL but instead in shader bytecode – basically assembly language. The amount of guesswork involved in what the various opcodes were meant to do made the conversion to GLSL a lot more time consuming than anticipated. Anyway, enough with the complaints – here’s what my implementation ended up looking like:
The simulation of the various waves is wrapped inside the WaveMesh class, which provides access to various properties of the simulation like wave height and choppiness. By default, the class tracks 4 distinct geo waves as well as 16 texture waves, although those numbers can be changed if so desired. Once per frame, the wave texture is generated via the framebuffer. In fact, the texture is rendered to 5 times – 4 passes to render 4 of the texture waves each, and then a final noise pass. You can find my implementation of the vertex and fragment shaders in my Github repository.
Here’s what each of these stages blended on top of the previous one looks like:




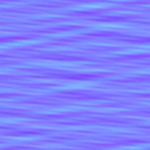
As you may be able to tell, the final texture is in fact a normal map which represents the distortion of the surface caused by the waves. It is used during the fragment pass of the geo waves to look up reflections in an environment map.
The vertex shader used to render the actual wave mesh is quite a bit more complex than the texture shaders. It has to modulate the vertex height and position based on the interference of the geo waves:
Additionally, it computes the normals matrix and eye vector used to compute the reflection in the fragment shader. Finally, it also determines the opacity and reflectiveness of the water at a given vertex position. Thankfully, the fragment shader is rather simple again – it samples the previously generated normal map and then performs a lookup into the environment map. It then combines the reflected color with the water color parameters and outputs the resulting fragment.
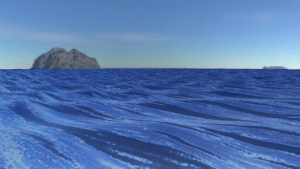
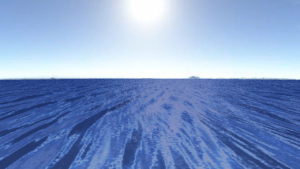
Here are some screenshots to better illustrate the environmental reflection:
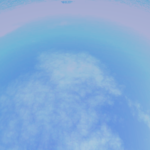
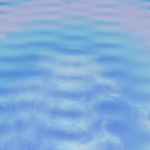
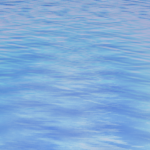
The final product of the shaders is looking pretty convincing, especially when viewed in motion. I suspect I’ll have to spend more time finding the right combination of wave parameters to model different ocean conditions like storms and calm waters. Also, the current implementation doesn’t yet support reflections of other objects like islands or ships in the game world, which is something I’d like to try out in the future.
The full source code available on Github. You can also try out the example code yourself here.
Looking good!