I’ve been working on a method for generating dungeon map layouts recently. I’m planing to use this to create the levels for a game I’m working on, and I thought it might be interesting to share the approach I’ve come up with. The source code for this article is available on my Github repository and I’ll be updating it as I release additional parts of this series.
Here’s what I have so far: the dungeon map is represented by a grid of cells. Each cell can either be empty or represent a room that the player can access. I’ve more or less arbitrarily chosen the grid to be of 30 by 10 cells for this article, but the dimensions are adjustable.
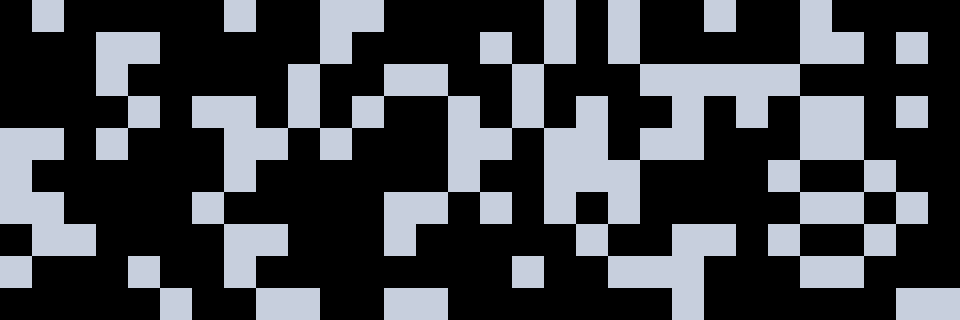
Starting with an empty grid, we’ll do a first pass to add cells at each possible location with a fixed probably (40% in this case). Cells are rendered in light gray whereas empty spaces are black:
 For orientation, the player would enter the dungeon on the left side and make their way to the right. As with the dimension, the orientation could be changed so that the map is taller than it is wide for example.
In addition to randomly distributed rooms I want to be able to place some known rooms at fixed locations. We’ll call these “seed” rooms and place them at key locations – in this case at the entrance and exit as well as in the center of the dungeon:

There are certain areas near the perimeter of the map where I don’t want any cells to be added. For example, I don’t want any cells other than the entrance and exit on the first and last column to make these rooms stand out more. To accomplish that, the map generator allows you to set a margin for each side (top, left, bottom, right) outside of which no cells will be added. Seeded cells are still permitted in those areas.
Setting the margins for left and right to 1, we’ll end up with the following:

In order to better create a sense of progression as the player moves the dungeon, I want to be able to change the density of rooms at different locations. To do that, I decided to split up the map into multiple zones, each spanning an equal horizontal range:

With these zones in place, we can now assign a distinct cell density to each of them. This allows for a sparser map in the starting zone (left) and a more densely filled zone towards the end (right):

That’s all for now – next time I’ll describe how we can connect the individual rooms together to create a path that spans the whole dungeon.
Leave a Reply