Picking up where I left off last time, now it is time to connect the individual map cells. In the finished game, these cells will be represented by rooms and connections between them by narrow corridors.
We’ll start with this map:
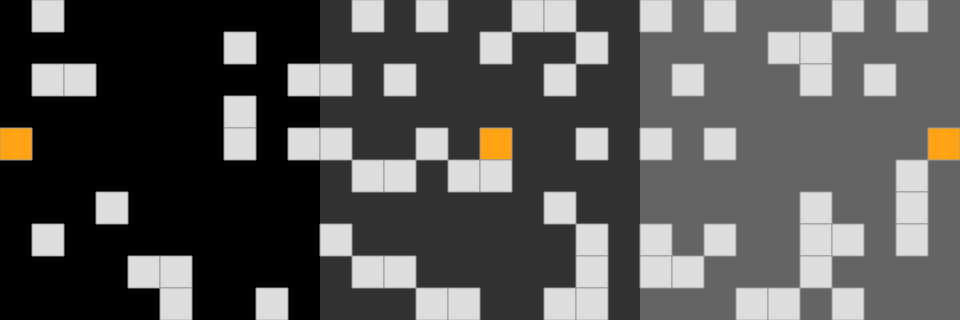
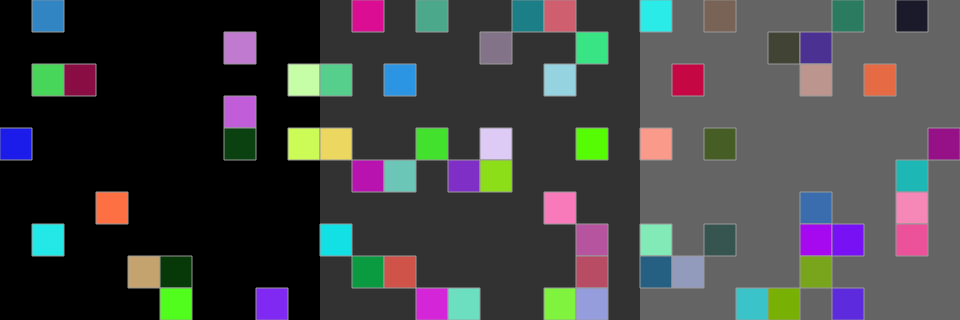
In order to connect the cells I’m first grouping them into clusters based on their location. To help visualize this, from here on all cells which are part of the same cluster will share the same color. Initially each cell is assigned its own cluster:
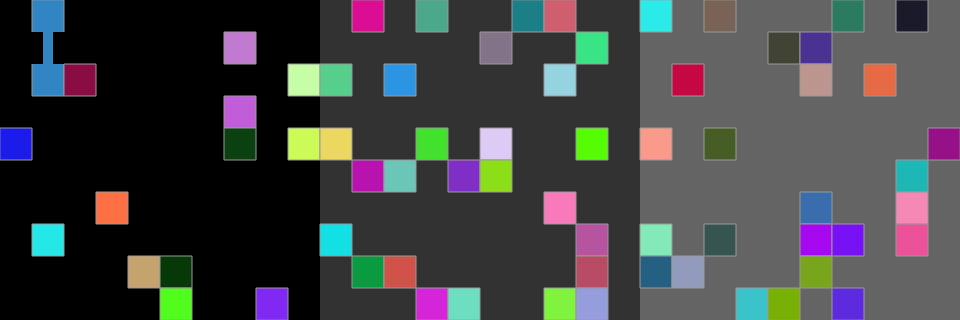
With this in place the generator performs multiple passes over the list of clusters. Each time it will pick the smallest cluster (i.e., the cluster containing the lowest number of cells) and connect it to the closest other cluster. In case there are multiple clusters nearby, the one that is closer to the center of the map will be selected to guide the general layout toward the that point.
If there is an empty space between two clusters, we add one or more connecting cells to join them. Then, we merge the smaller cluster into the bigger and shade all cells using the same color. See the blue cells in the top left for an example of two cells being merged via a single connection:
For cells that are already adjacent, we just join the clusters without adding further cells. See the cyan cluster in the middle for an example:
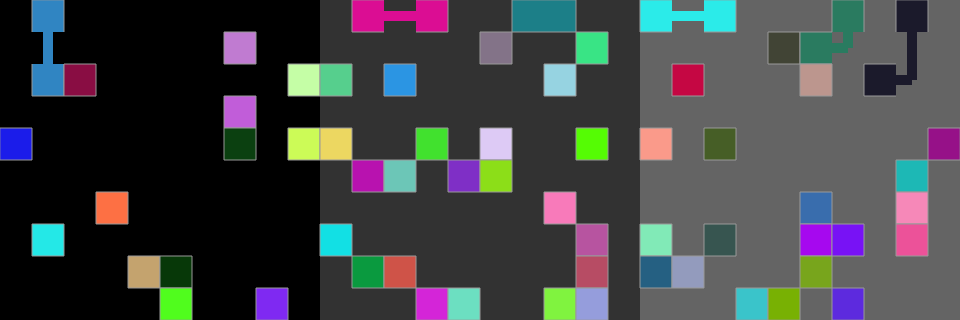
Over time, this builds out a network of cells until there is only a single cluster spanning all cells left:
Once we have reached this stage, the dungeon map layout is complete. Here is a version of the same map without the cluster coloring, showing regular, seeded, and corridor cells instead:
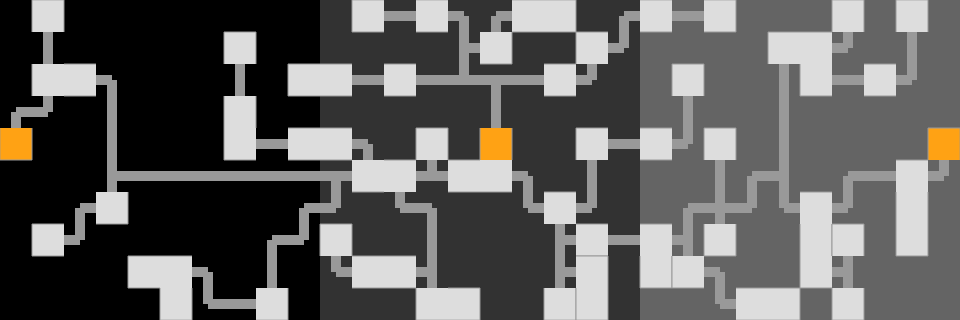
In the completed network some of the cells are connected to neighboring cells while others have walls between them. In my case I’m planning to treat the groups of adjacent, linked cells as special rooms, but that is a topic for another time.
As before, the latest version of the source is available on my Github repo.
Leave a Reply